2023-05-23
initialize, install, first, run
The following explains how to install the iCafeCloud Server for the first time and configure it to work with client PCs where iCafeMenu is downloaded and running.
- Install iCafeCloud Server on the same PC as CCBoot (in the directory C:\iCafeCloudServer), since you will need to download iCafeMenu to the game disk (E:\Apps\iCafeMenu).
- On the iCafeCloud server, click "Options", input your license code and password. (Figure 1)
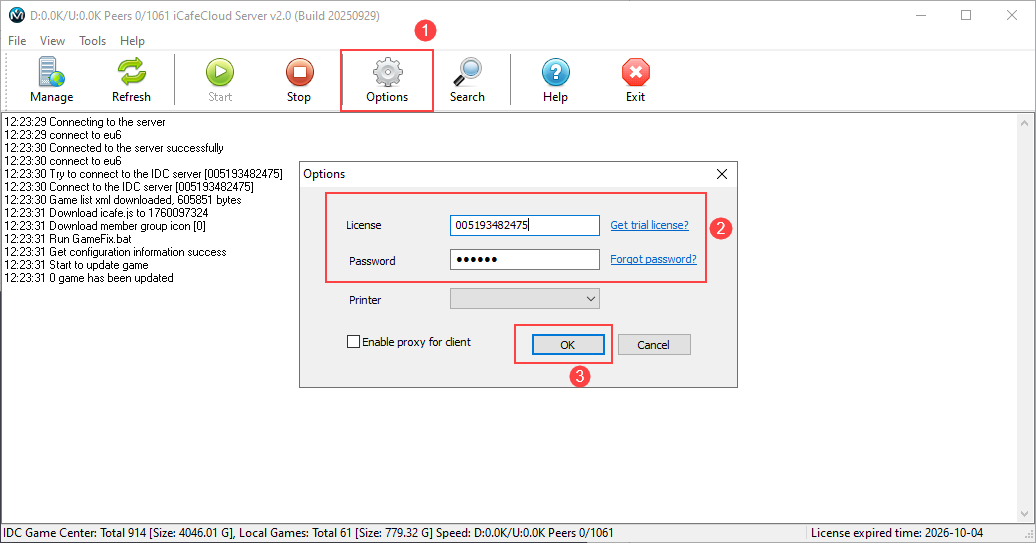
Figure 1
- iCafeCloud will complete the initialization auto.
- Click the “Manage” button or go to “https://cp.icafecloud.com” to open the web management page.
- Enter your license and username (default: admin) for license password (check your email, we are sending license pass with other license info), then you can change admin pass on settings (Figure 2).
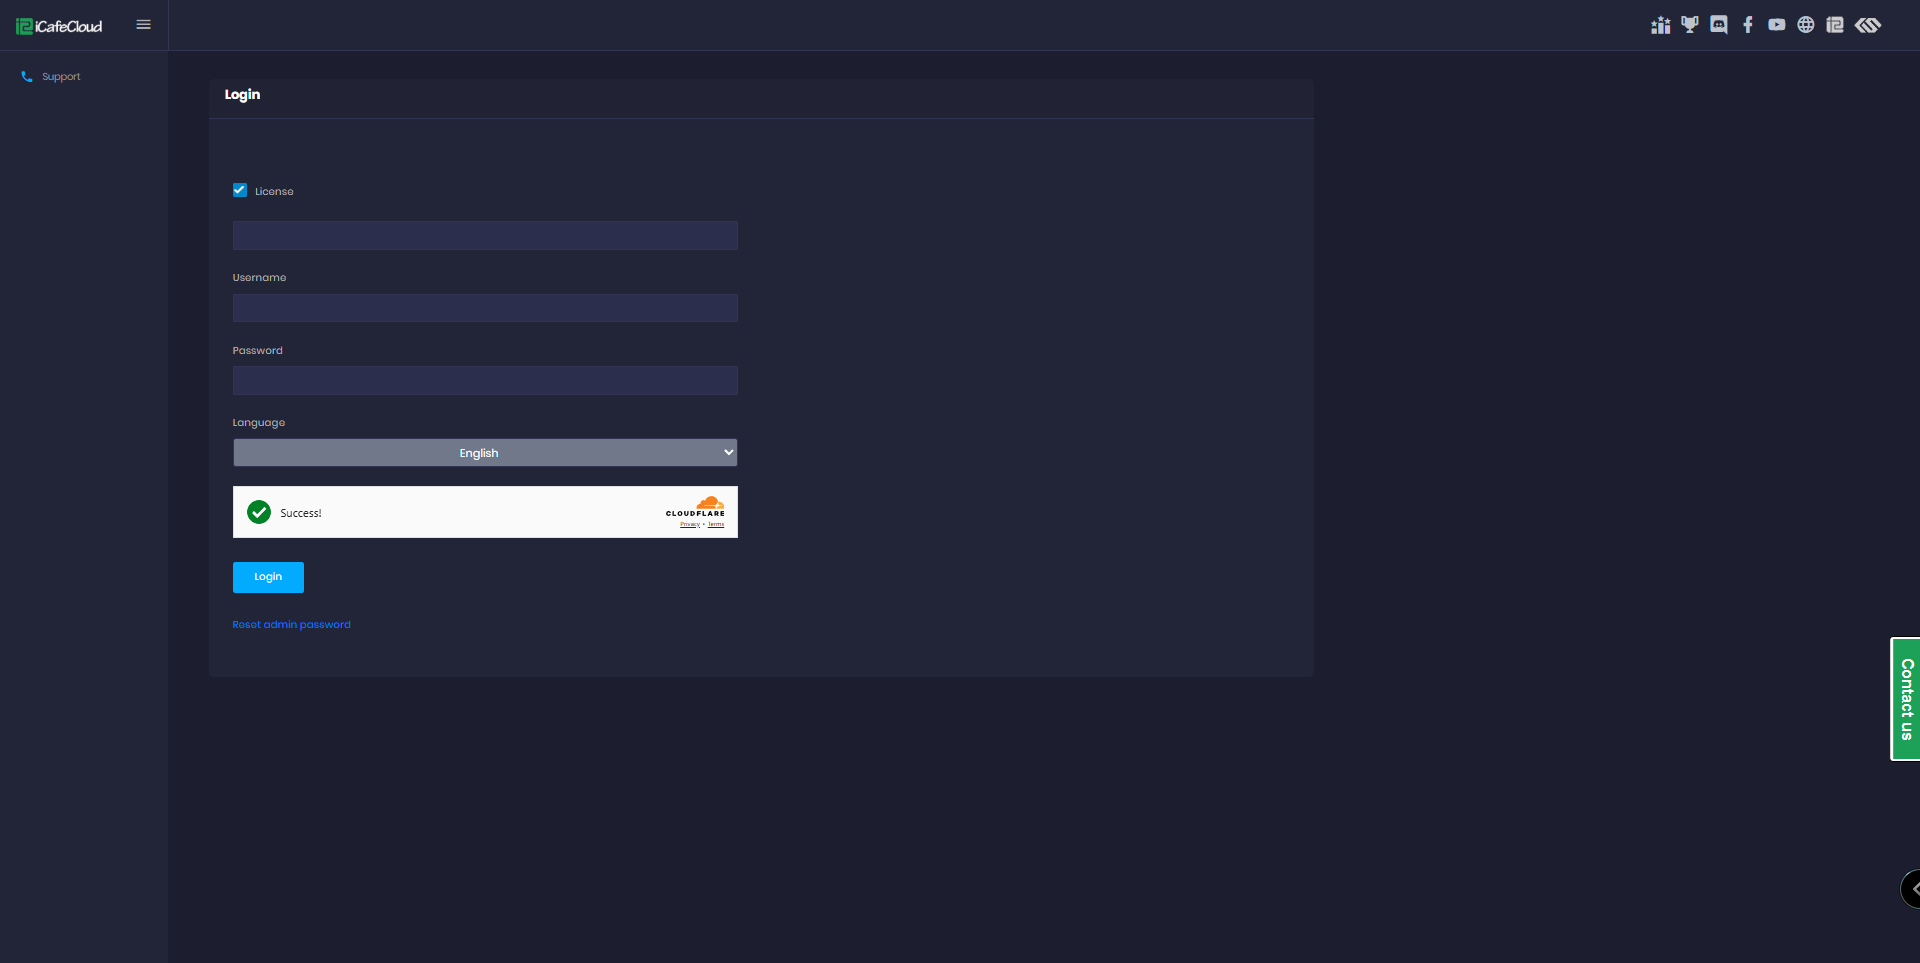
Figure 2
- Once logged in, enter your license information accurately and select your Google Maps location. (Figure 3).
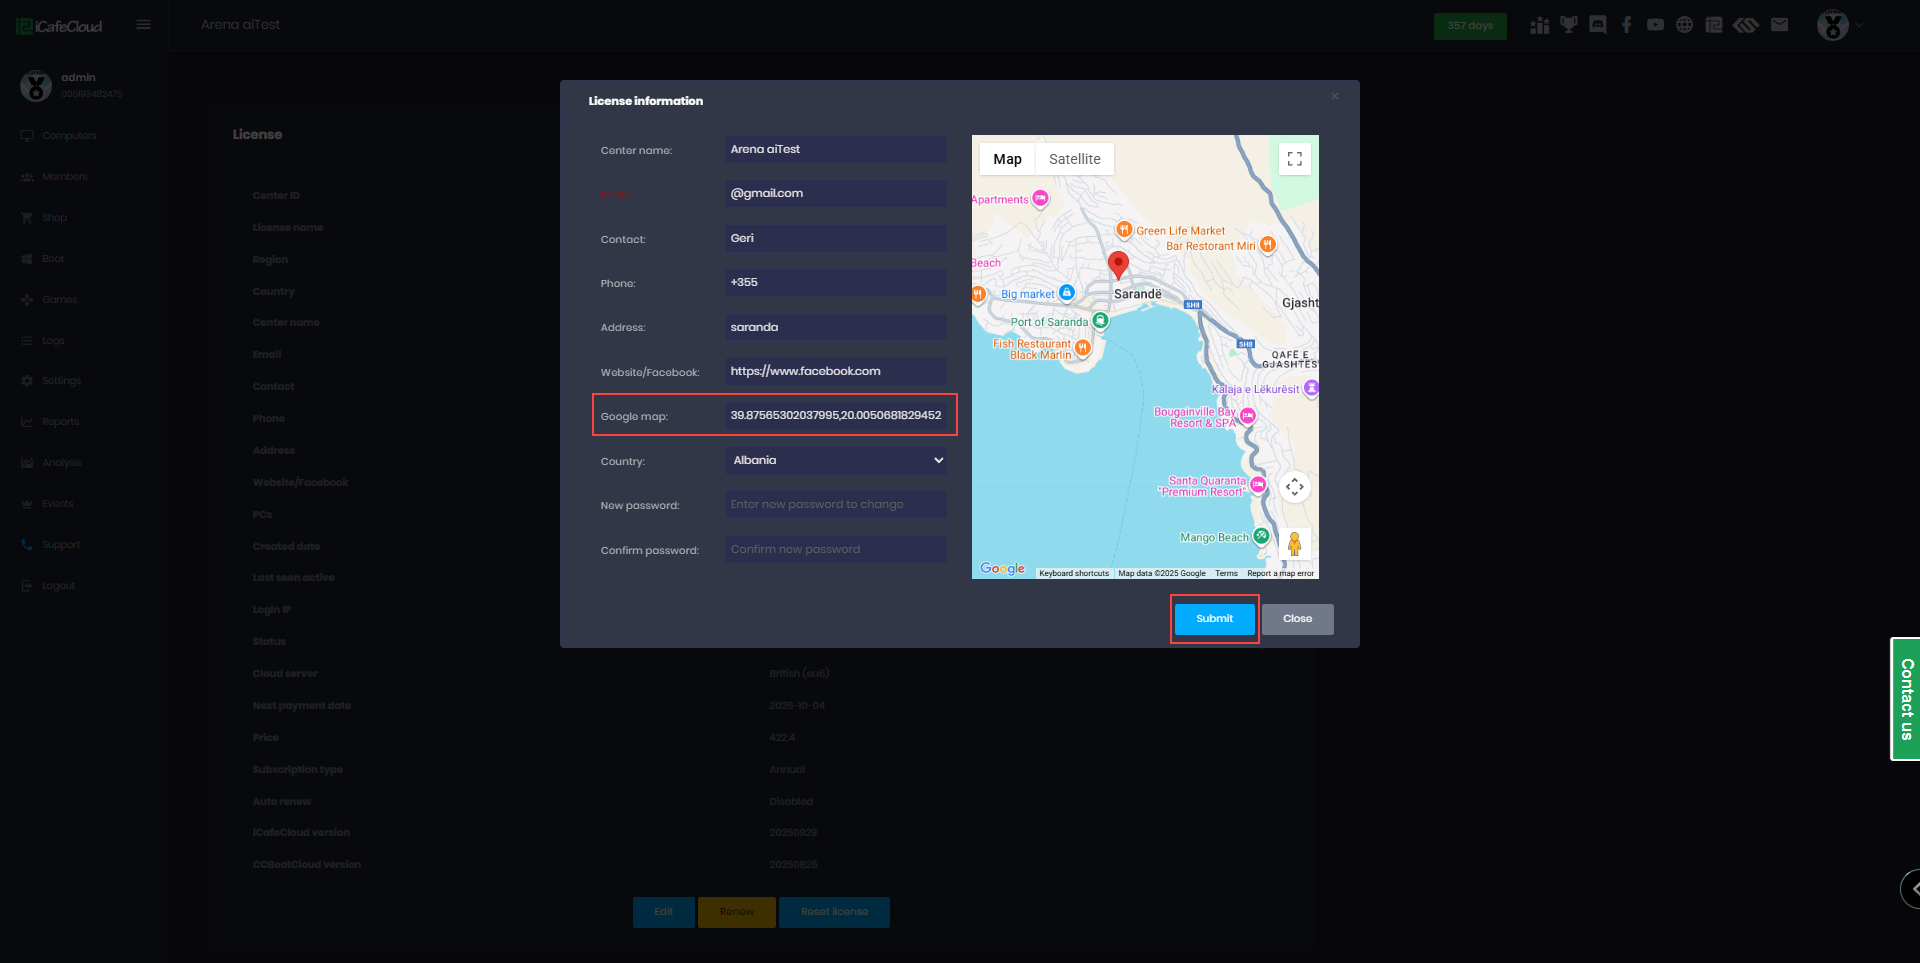
Figure 3
- In the Settings page, go to Center Settings and locate the Timezone option. Click the box next to it to open a list of available timezones, then select the one that matches your country.
- Make sure to choose the correct timezone before proceeding with any further configuration. (Figure 4).
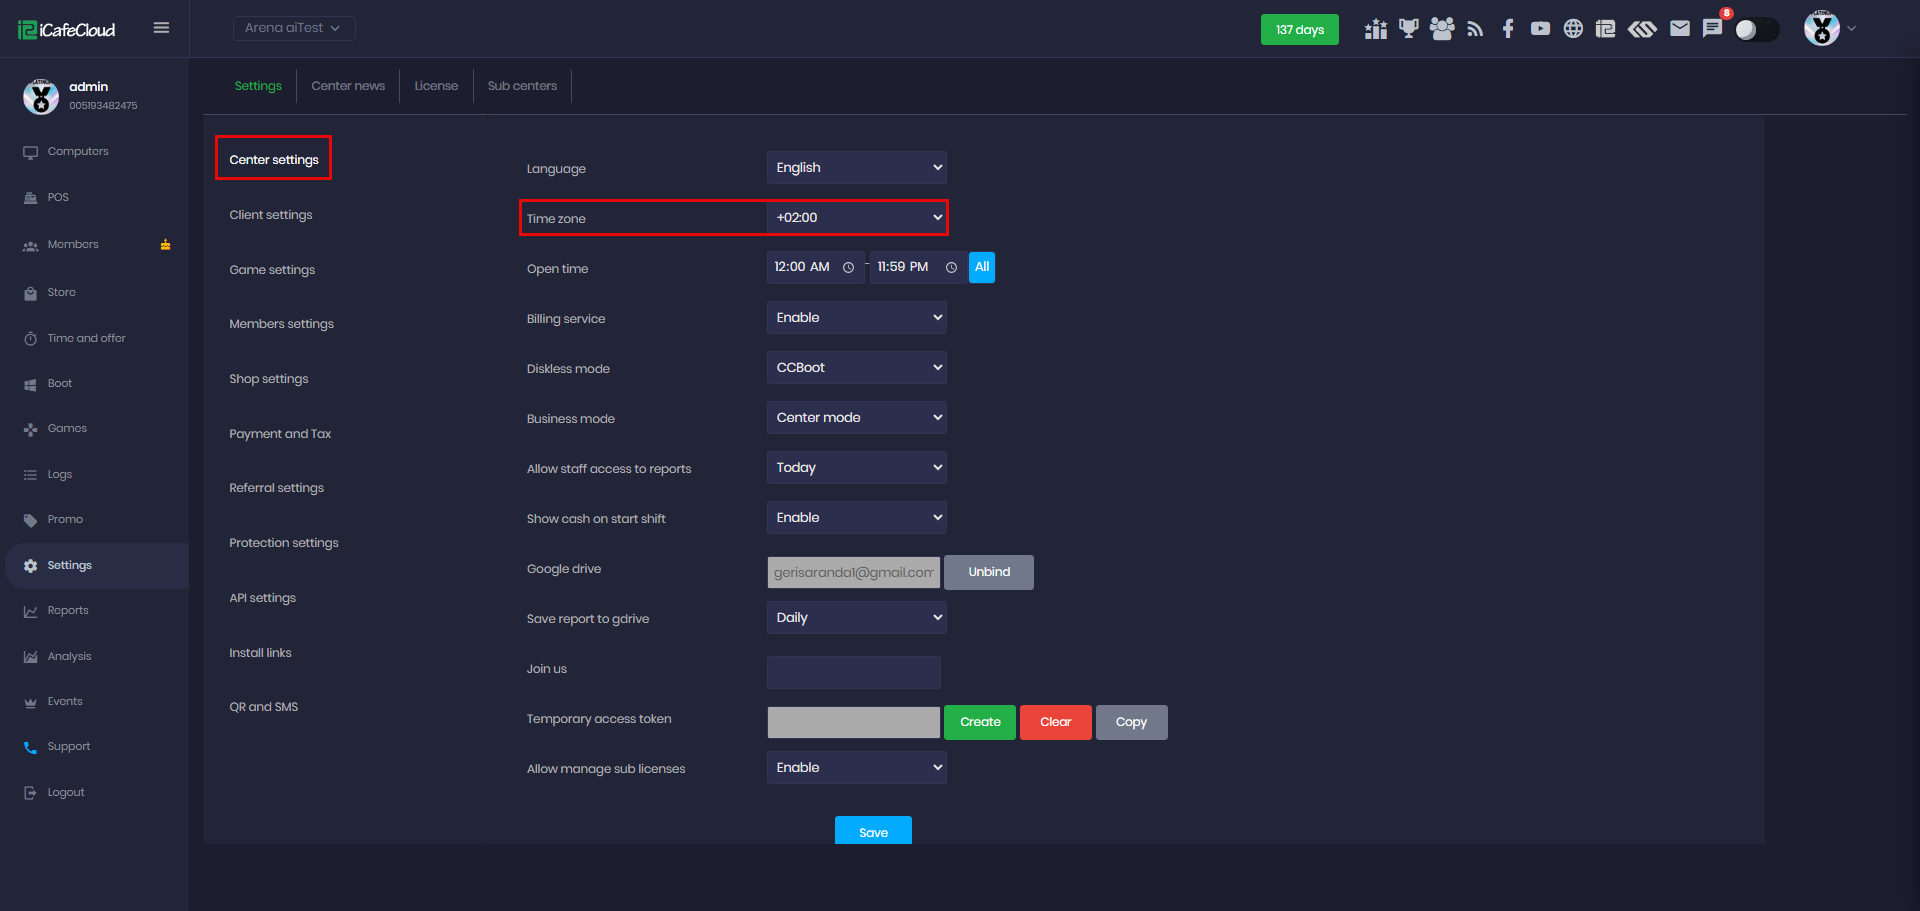
Figure 4
- In Game → Settings, locate the “main game drive” option. Select the same drive letter as your game disk, then click Save and will start an automatic download of iCafemenu onto that drive. (Figures 5).
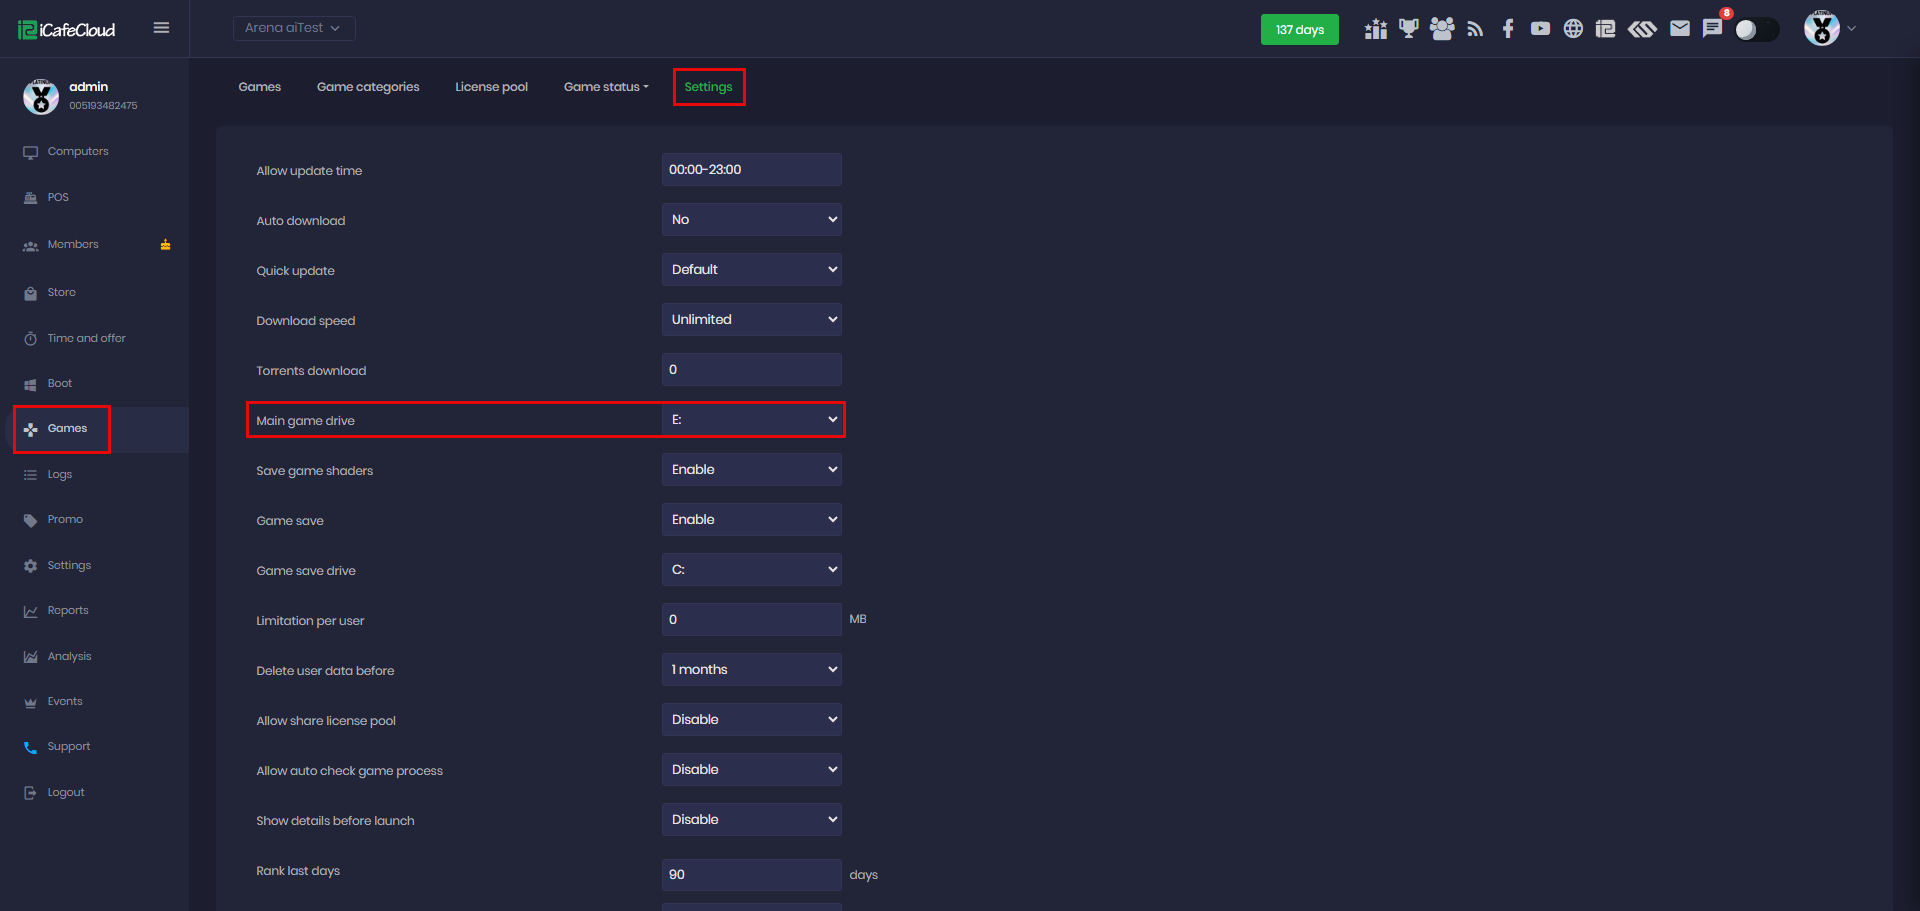
Figure 5
- When you change the main game drive, iCafemenu will also be prompted to re-download onto the new drive.
- If the download did not finish successfully, you can stop and restart the iCafeCloud service on the server.This will trigger a check and automatically re-download any missing or incomplete files if needed.(Figure 6)
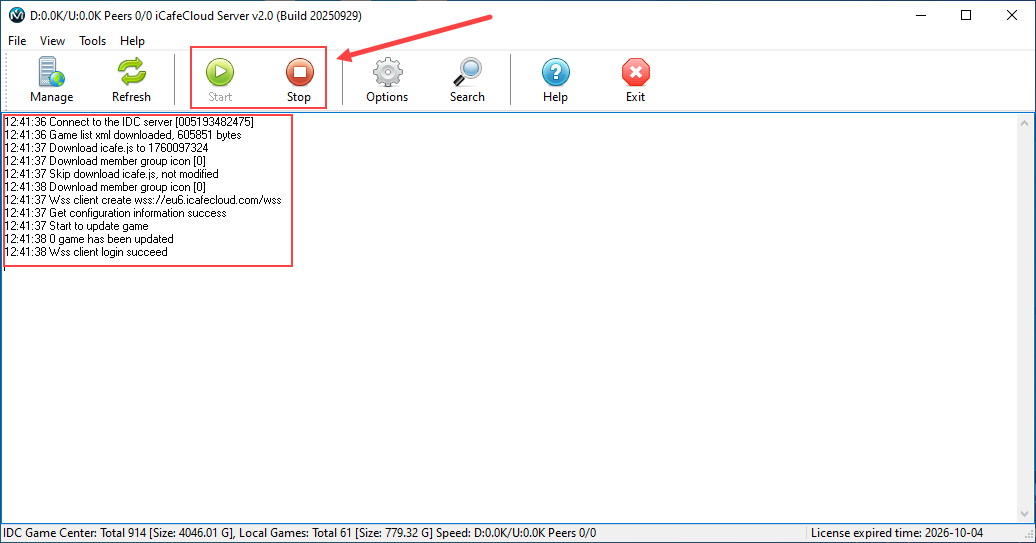
Figure 6
- On the Games page, search for iCafeMenu.When you right-click on it, you will see that iCafeMenu is automatically enabled by default.(Figure 7).
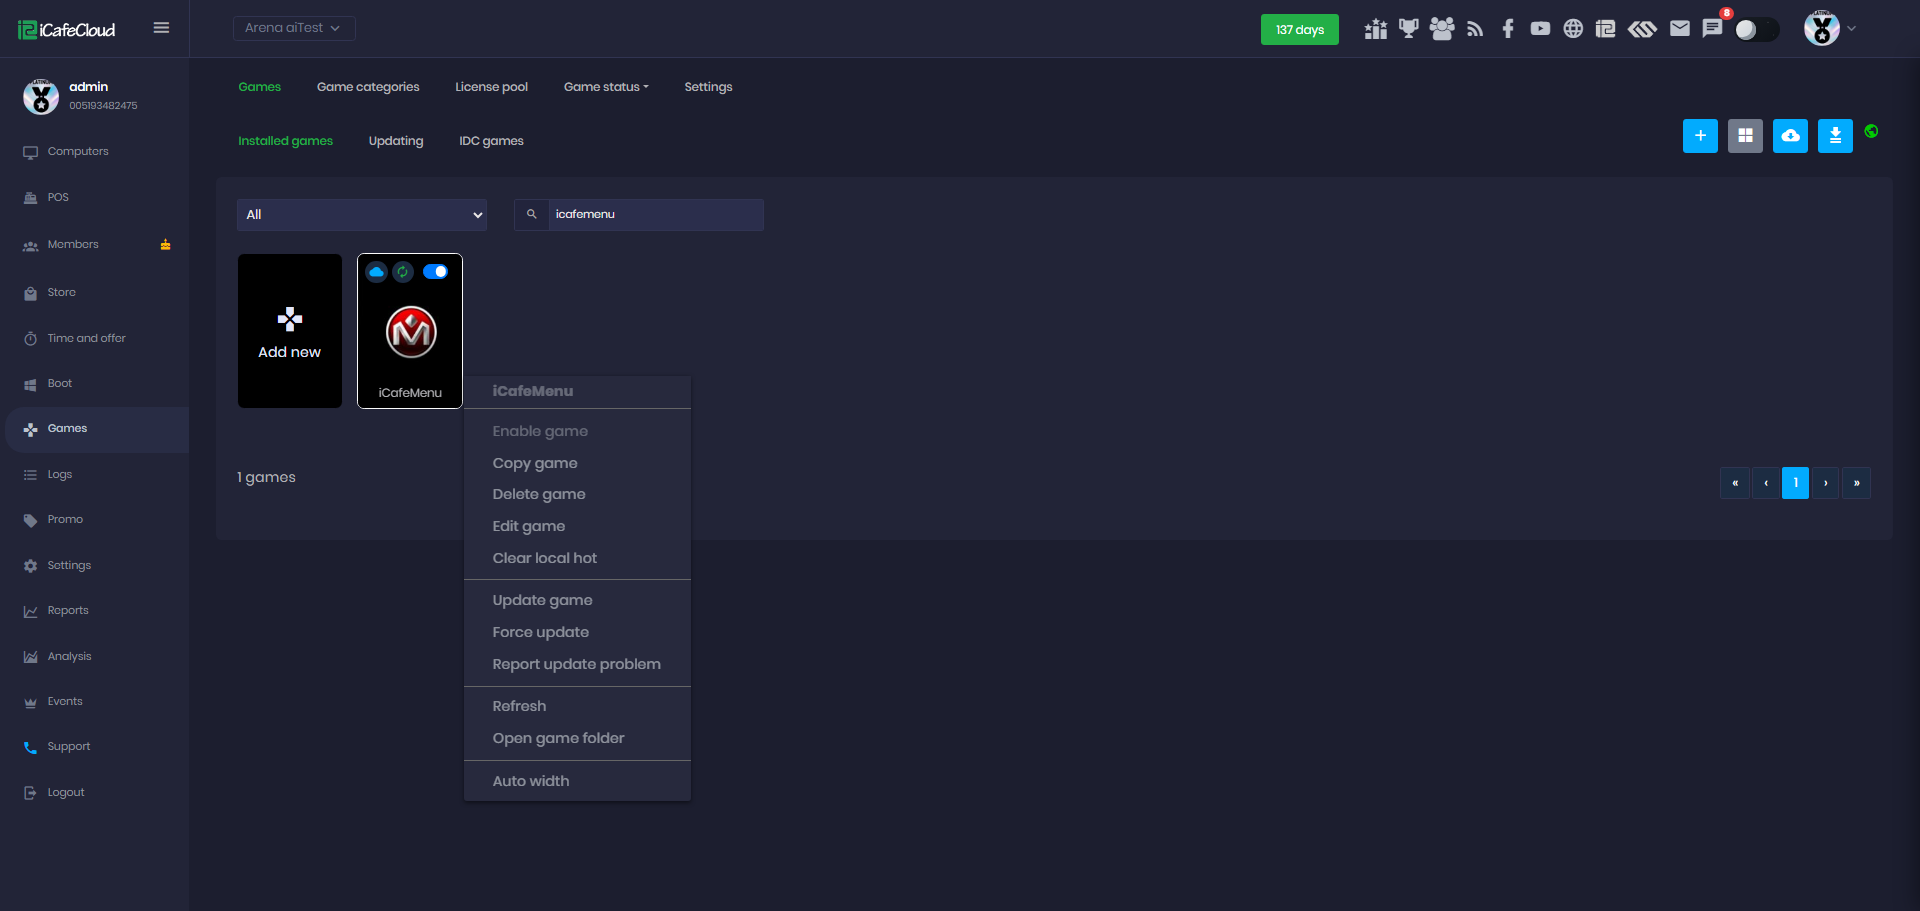
Figure 7
- Proceed here if you are not using a diskless system.
- Also bind your Google drive to save the game and billing logs. Refer to Upload or download logs on Google drive.
- If you want to add games that you already have on your PC, then refer to add local games.
- Overwolf will be downloaded automatically when iCafeMenu is downloaded.
- After the download is complete, boot the client PCs.
- If you are using the latest version of CCBoot or CCDisk on the client side, iCafeMenu will automatically launch on startup and display the login interface, where users can enter a valid username and password to log in. (Figure 8).
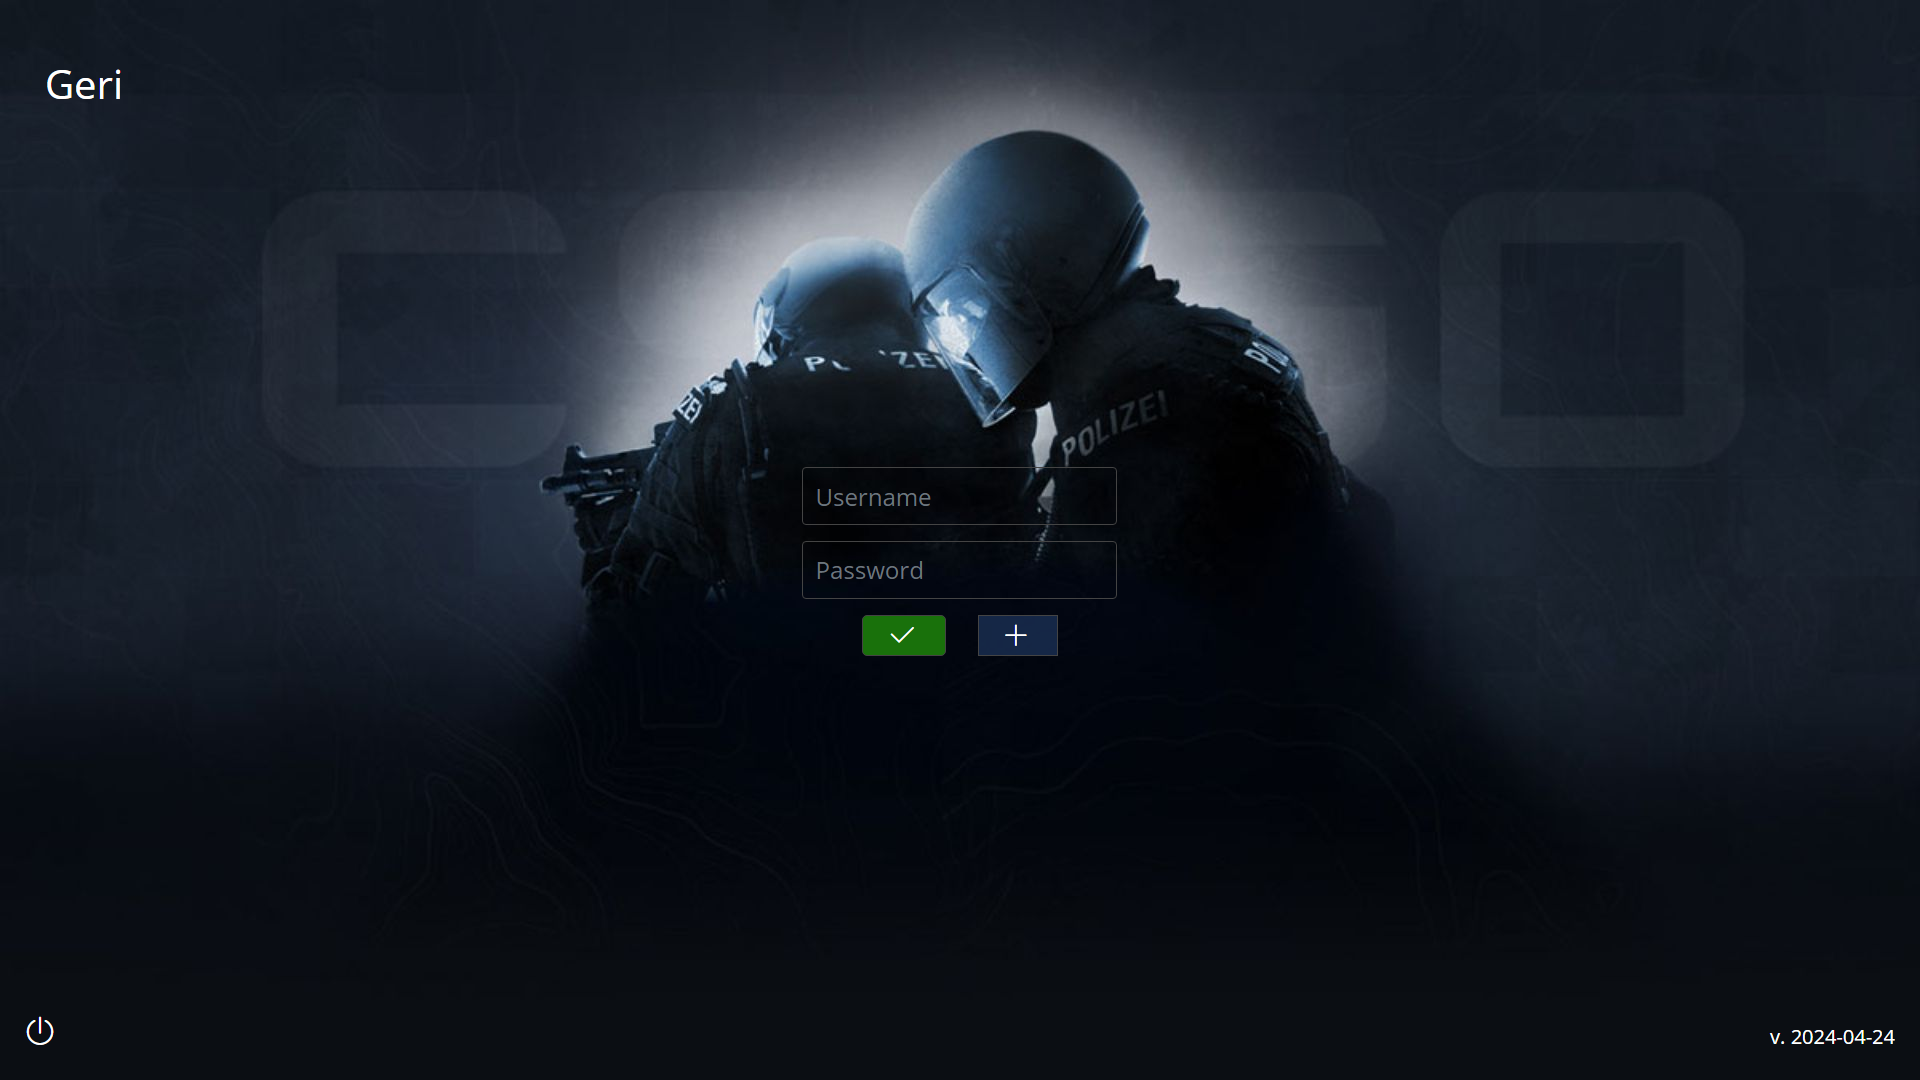
Figure 8
- If you are not using the latest version of CCBoot or are using another program, you can start Super Client mode and manually run iCafeMenu.exe once.Then reboot the PC to check if it starts automatically.Finally, shut down the PC and save the changes.
- After the first run, iCafeMenu will be automatically added to startup, allowing it to launch faster on the next boot.
You only need to run iCafeMenu once in Super Client mode and then save the image (if you haven’t already done so in the previous steps).
- Now the PC that has iCafeMenu running will be listed on iCafeCloud, “Computers” page (Figure 9).
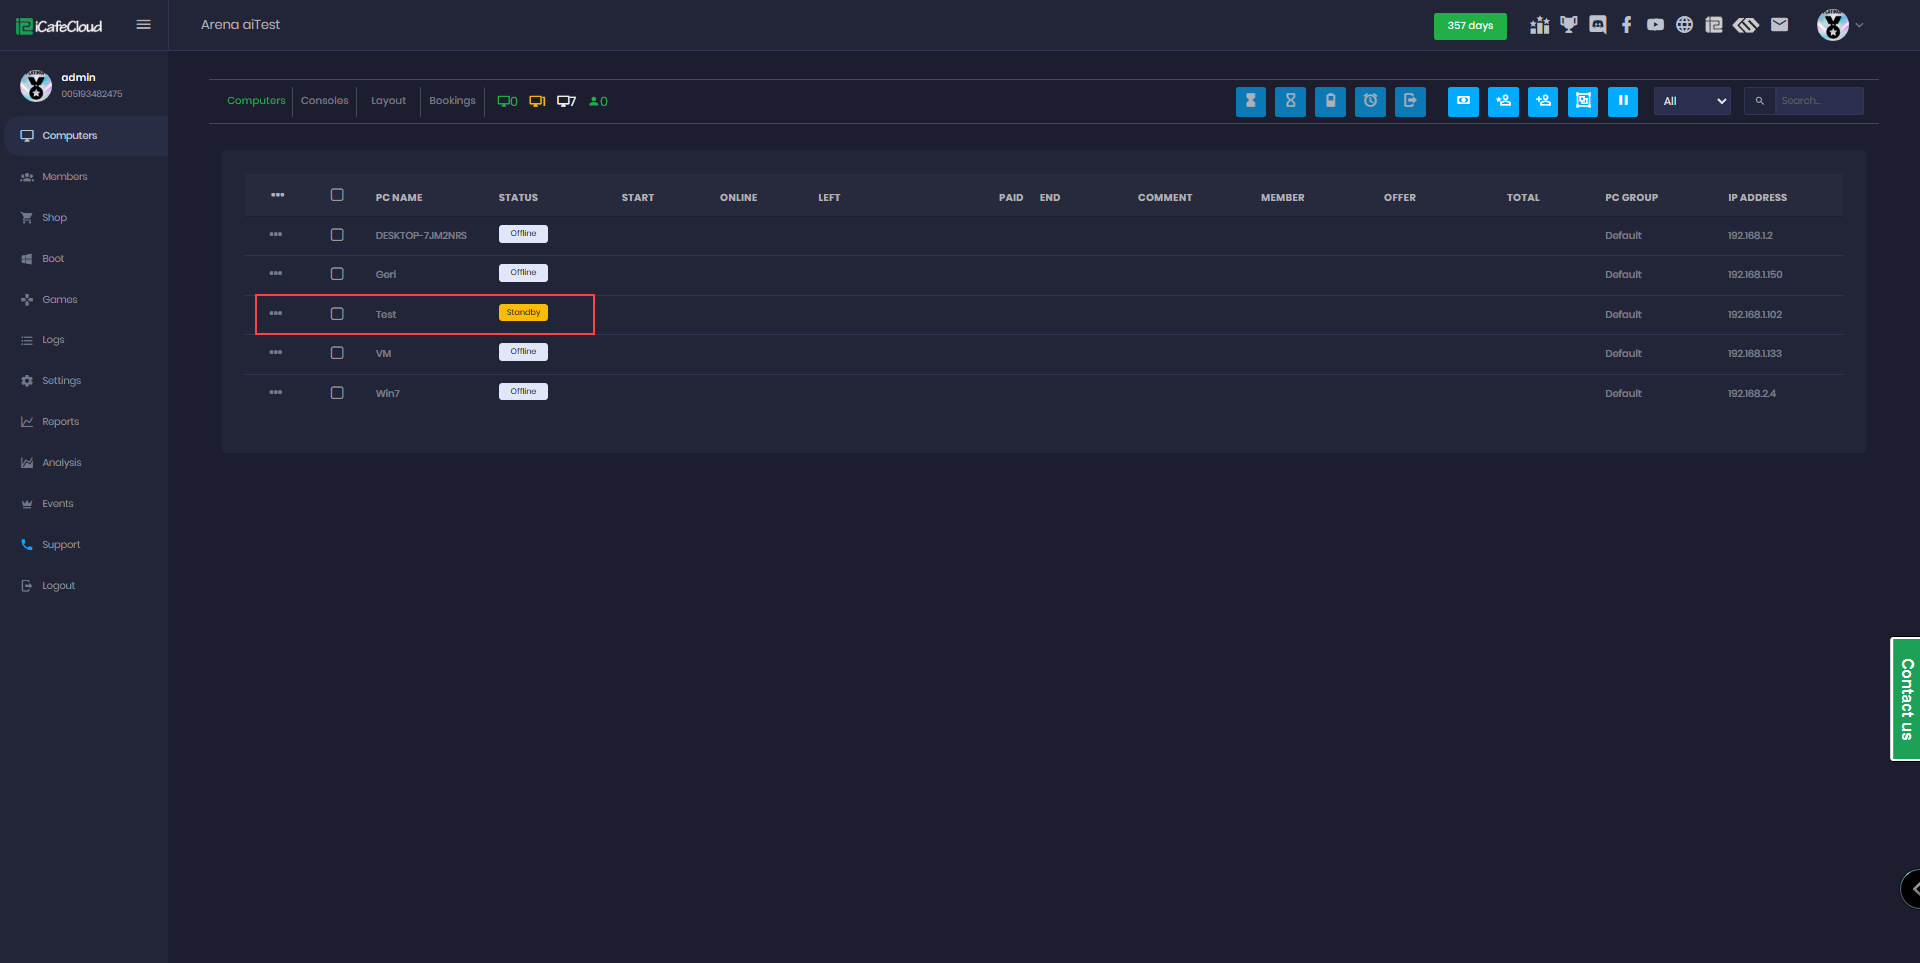
Figure 9
- At the top right, you can see:
Free PCs displayed in orange
Occupied PCs displayed in green
Members currently online In green with different icons(Figure 10).
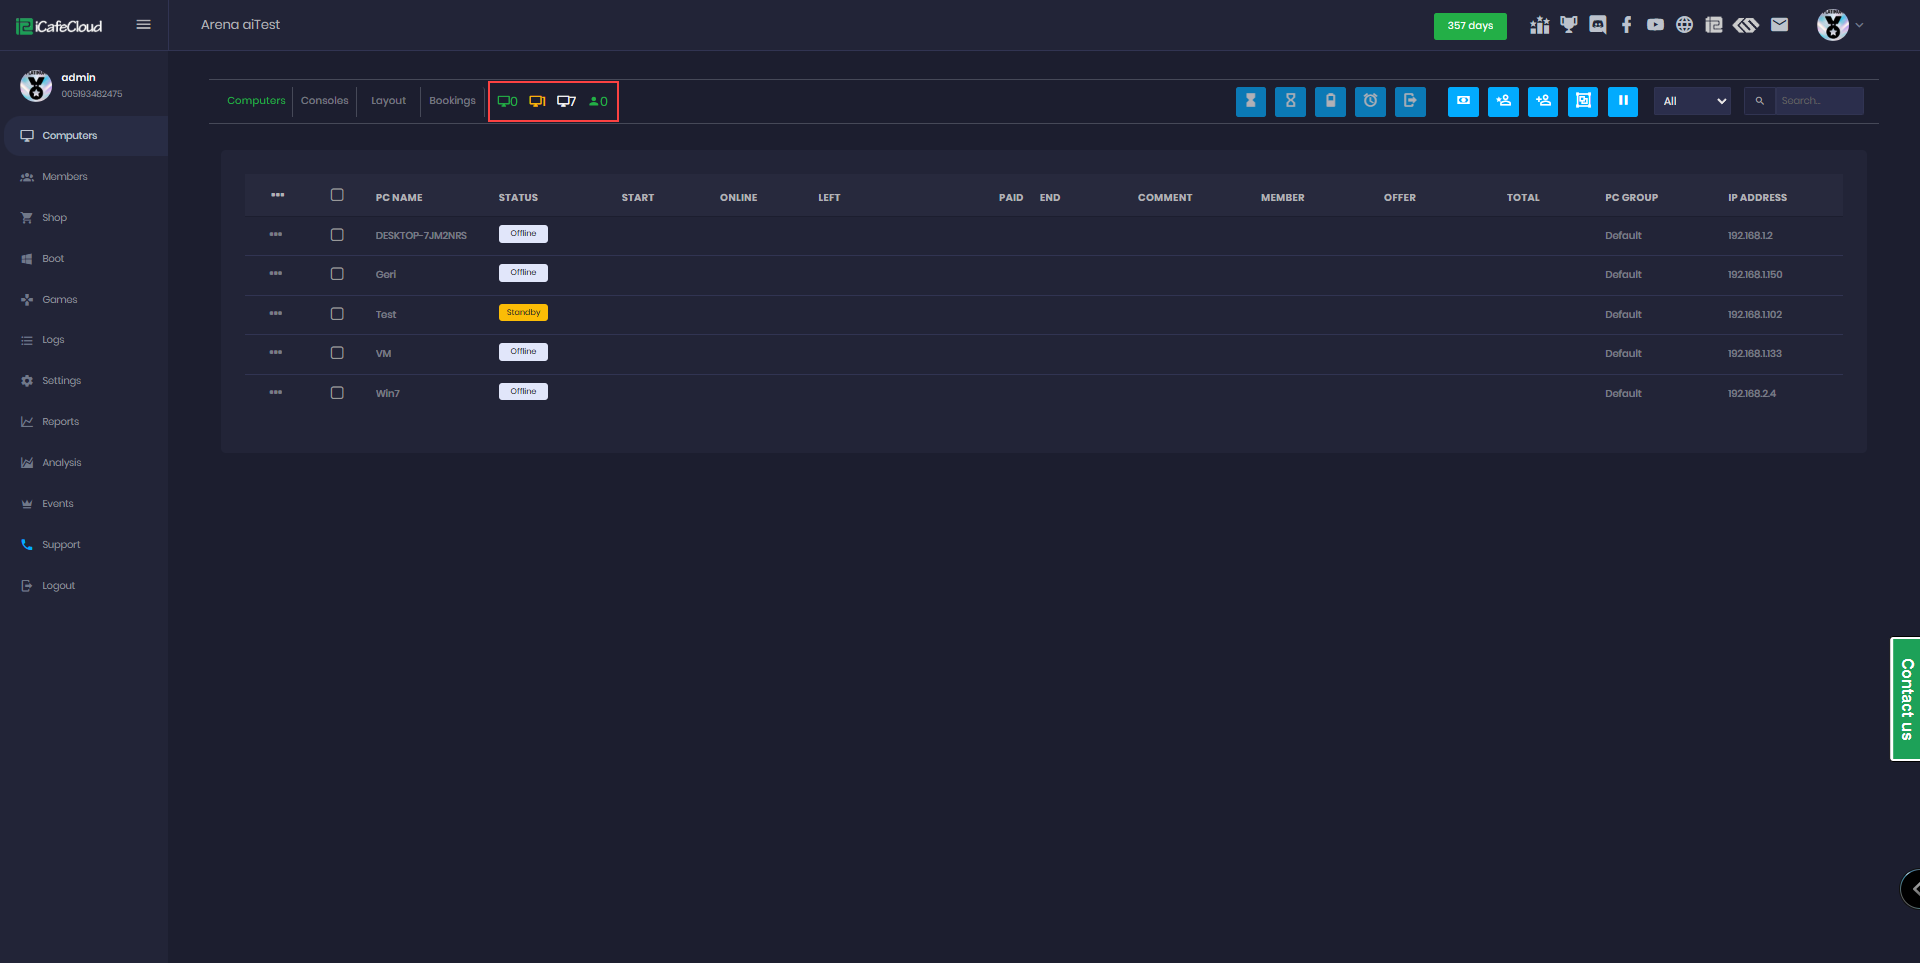
Figure 10