Wiki Home Computers page Room booking in layout
Room booking in layout
2024-06-16
room, booking, layout, settings
You can customize room bookings in your layout by enabling or disabling rooms for reservation in the following steps .
- You can choose which rooms to make available for booking and which ones to disable.
- Navigate to Computers - Layout, click the Unlock Rooms button, and then click Manage Room.(Figure 1)
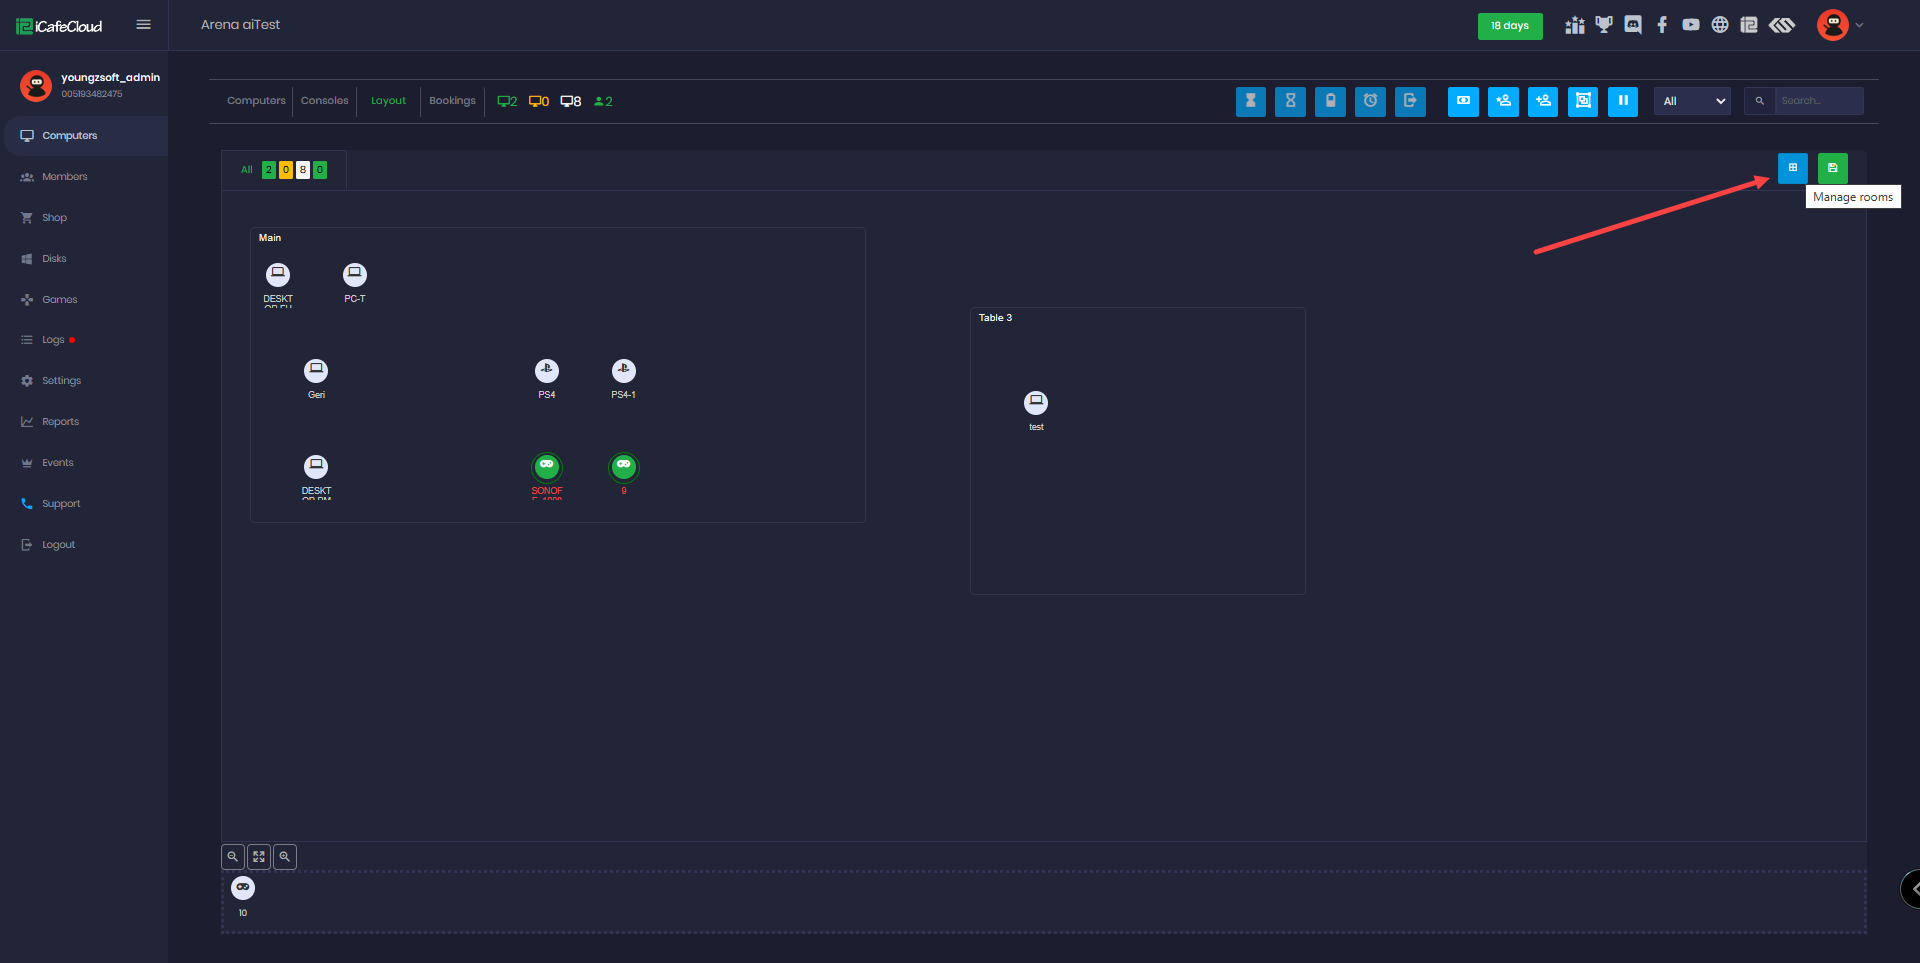
Figure 1
- Once you are in the Manage Rooms section, you can create new rooms or edit existing ones. You will also notice an option labeled "Allow Booking." (Figure 2)
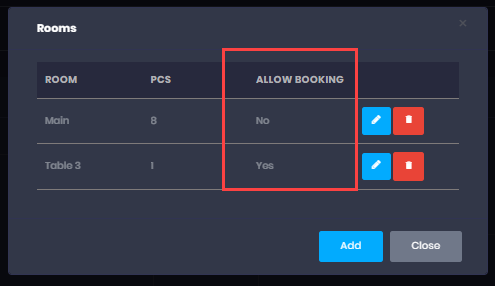
Figure 2
- Click the Edit button to change the booking option to Yes or No. (Figure 3)
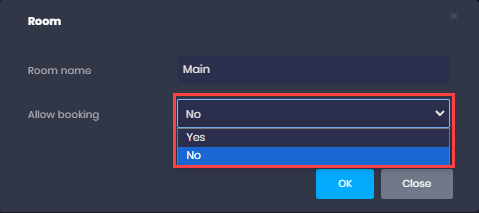
Figure 3
- Once you have made the changes, click OK and then Lock Rooms to save the updates.