Wiki Home Settings page Social login
Social login
2025-03-22
login, qr, google, facebook, telegram
The following explains how to enable and use Social Login and sync your social media accounts with your iCafeCloud account.
- Navigate to the Settings page, then go to Client Settings. Scroll down to the Social Login option and enable it. Choose which social login options to activate Google, Facebook, or Telegram. You can enable any of them individually or all three together.(Figure 1)
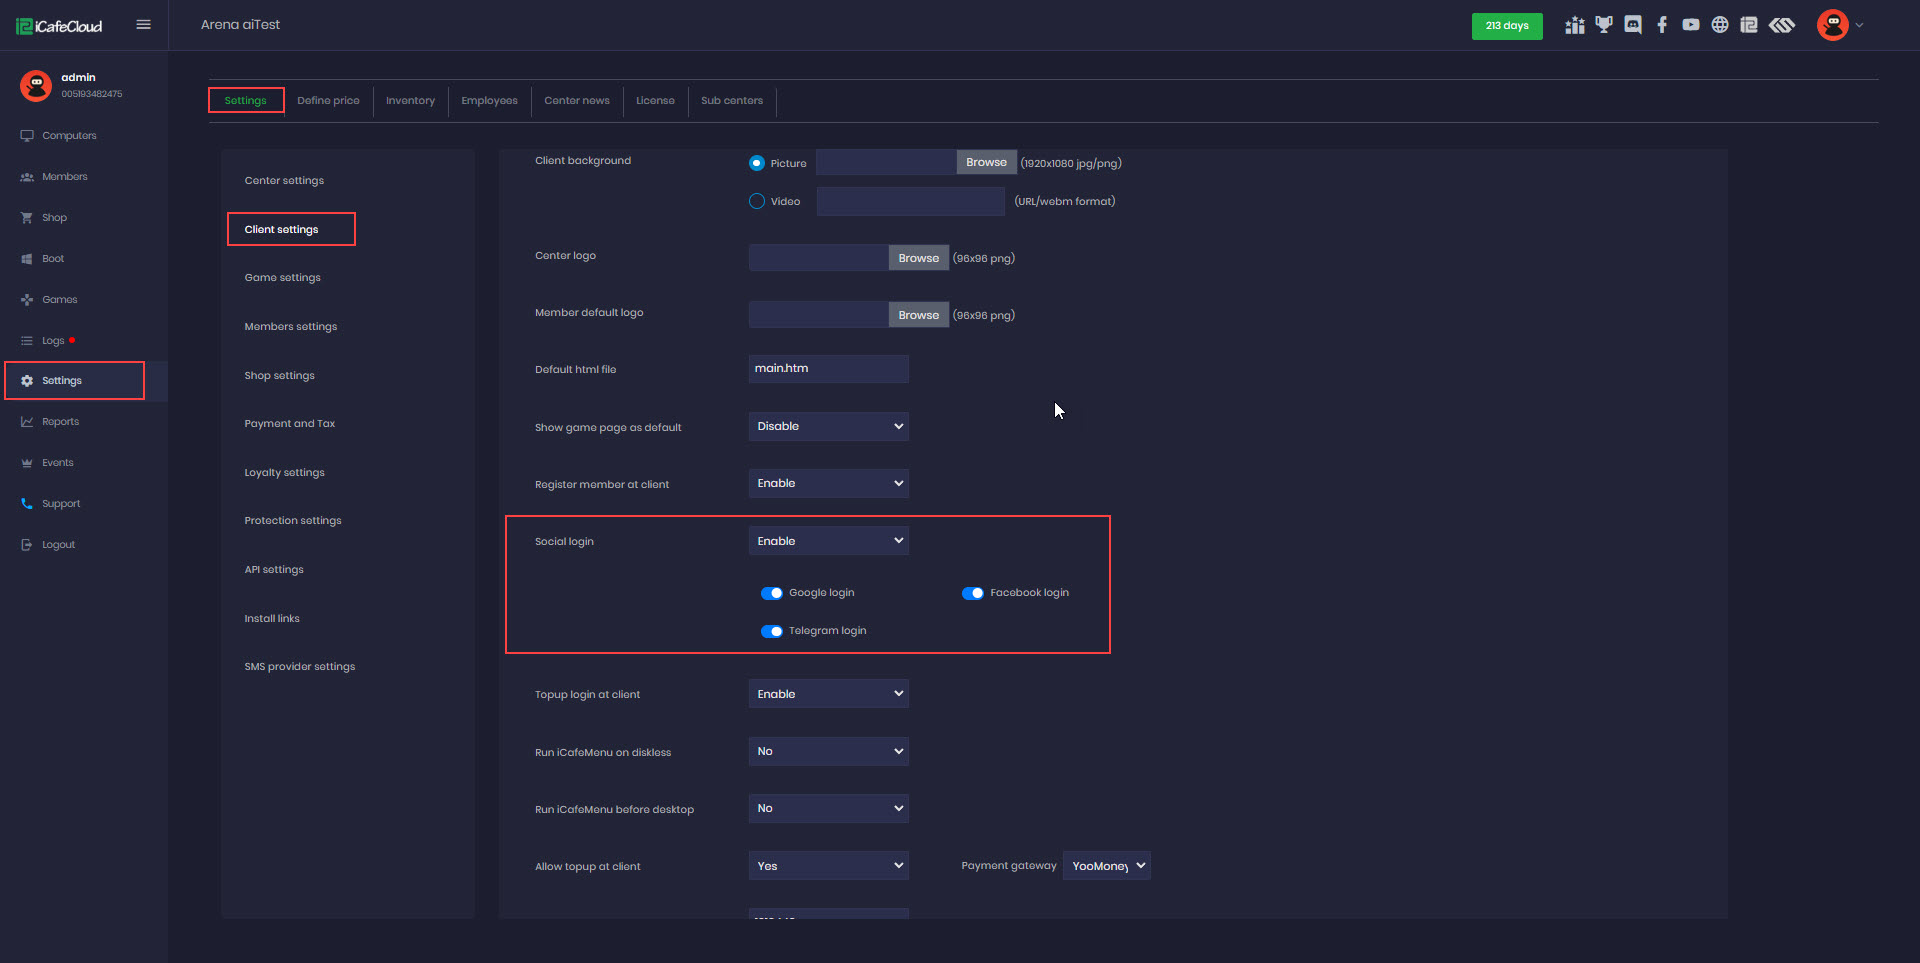
Figure 1
- Once the settings are enabled, a new button will appear in the client interface. (Figure 2)
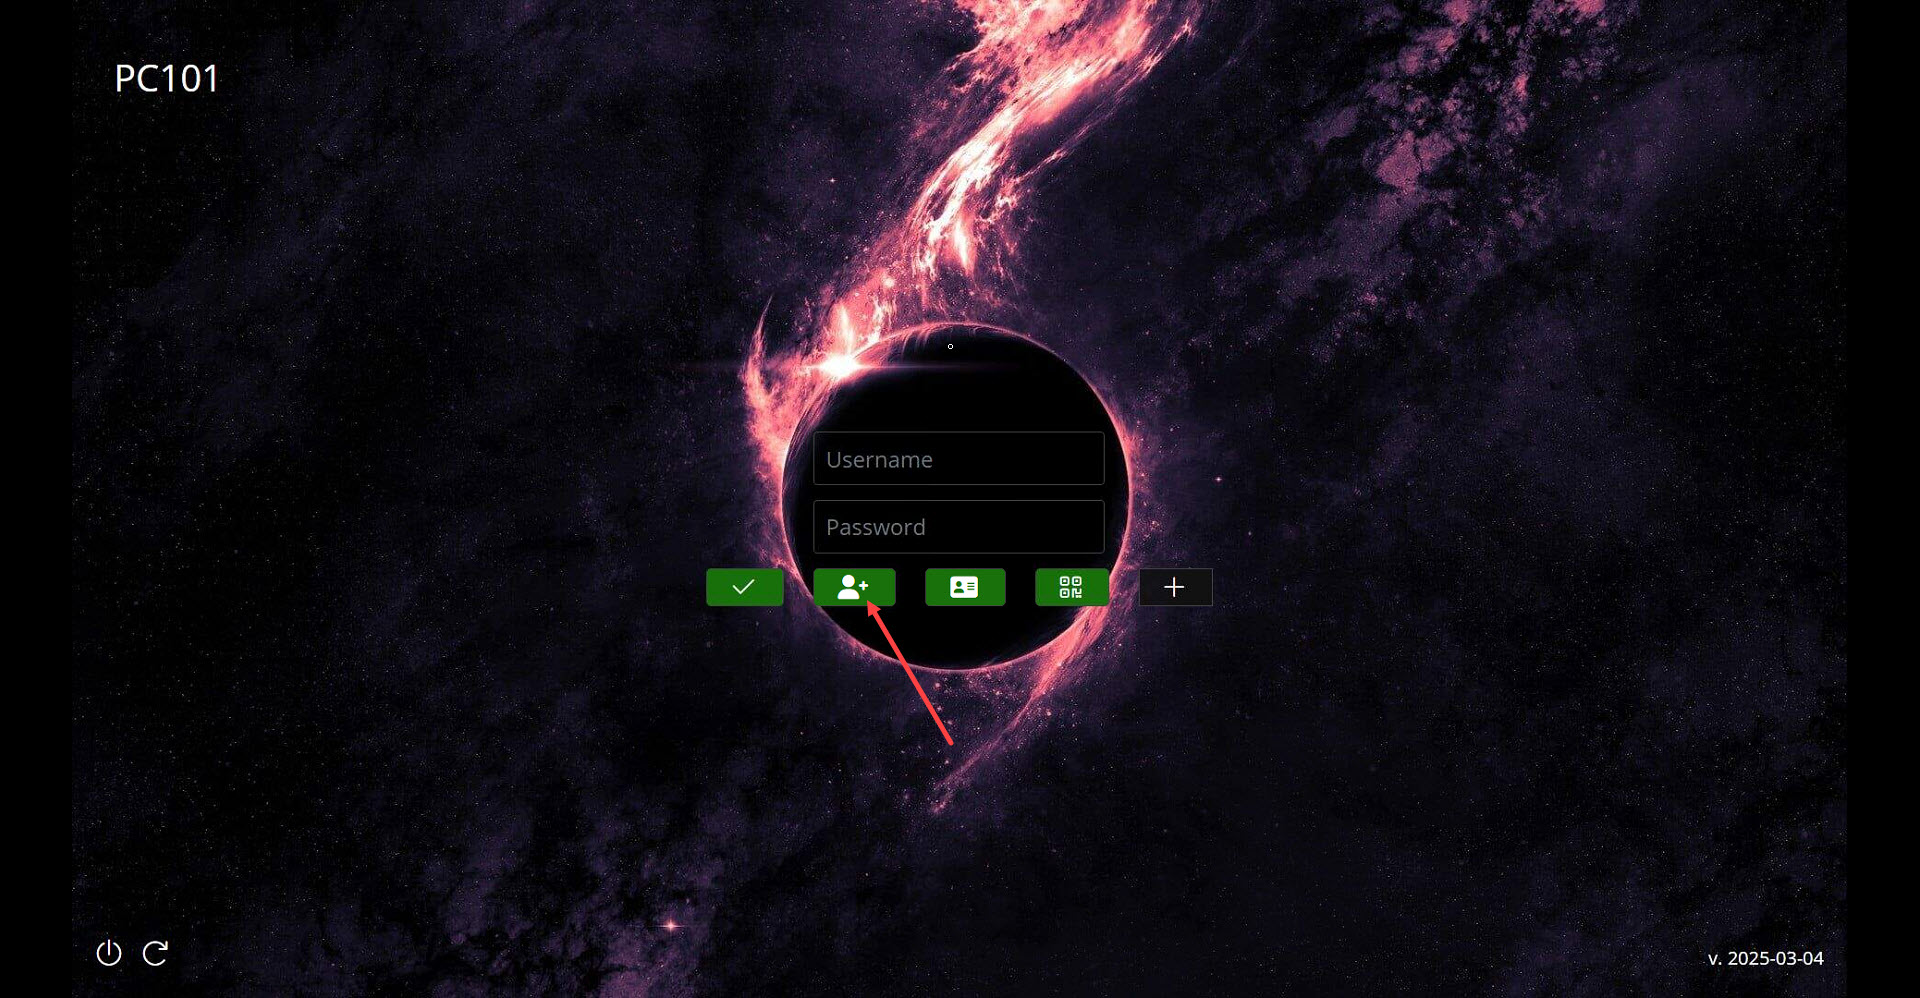
Figure 2
- Click on the Social Login button, and a QR code will appear. Scan it with your mobile device to proceed with the login.(Figure 3)

Figure 3
- On your mobile device, choose the social login option (Google, Facebook, or Telegram) you want to use for logging in.(Figure 4)
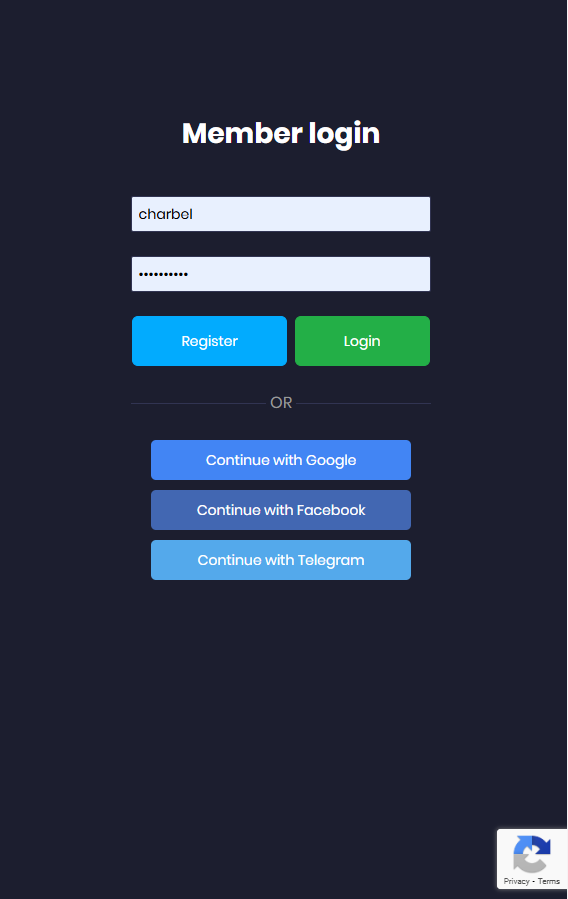
Figure 4
- If you choose Facebook, you will be redirected to the Facebook login page, where you will need to enter your credentials and grant the necessary permissions to continue. (Figure 5)
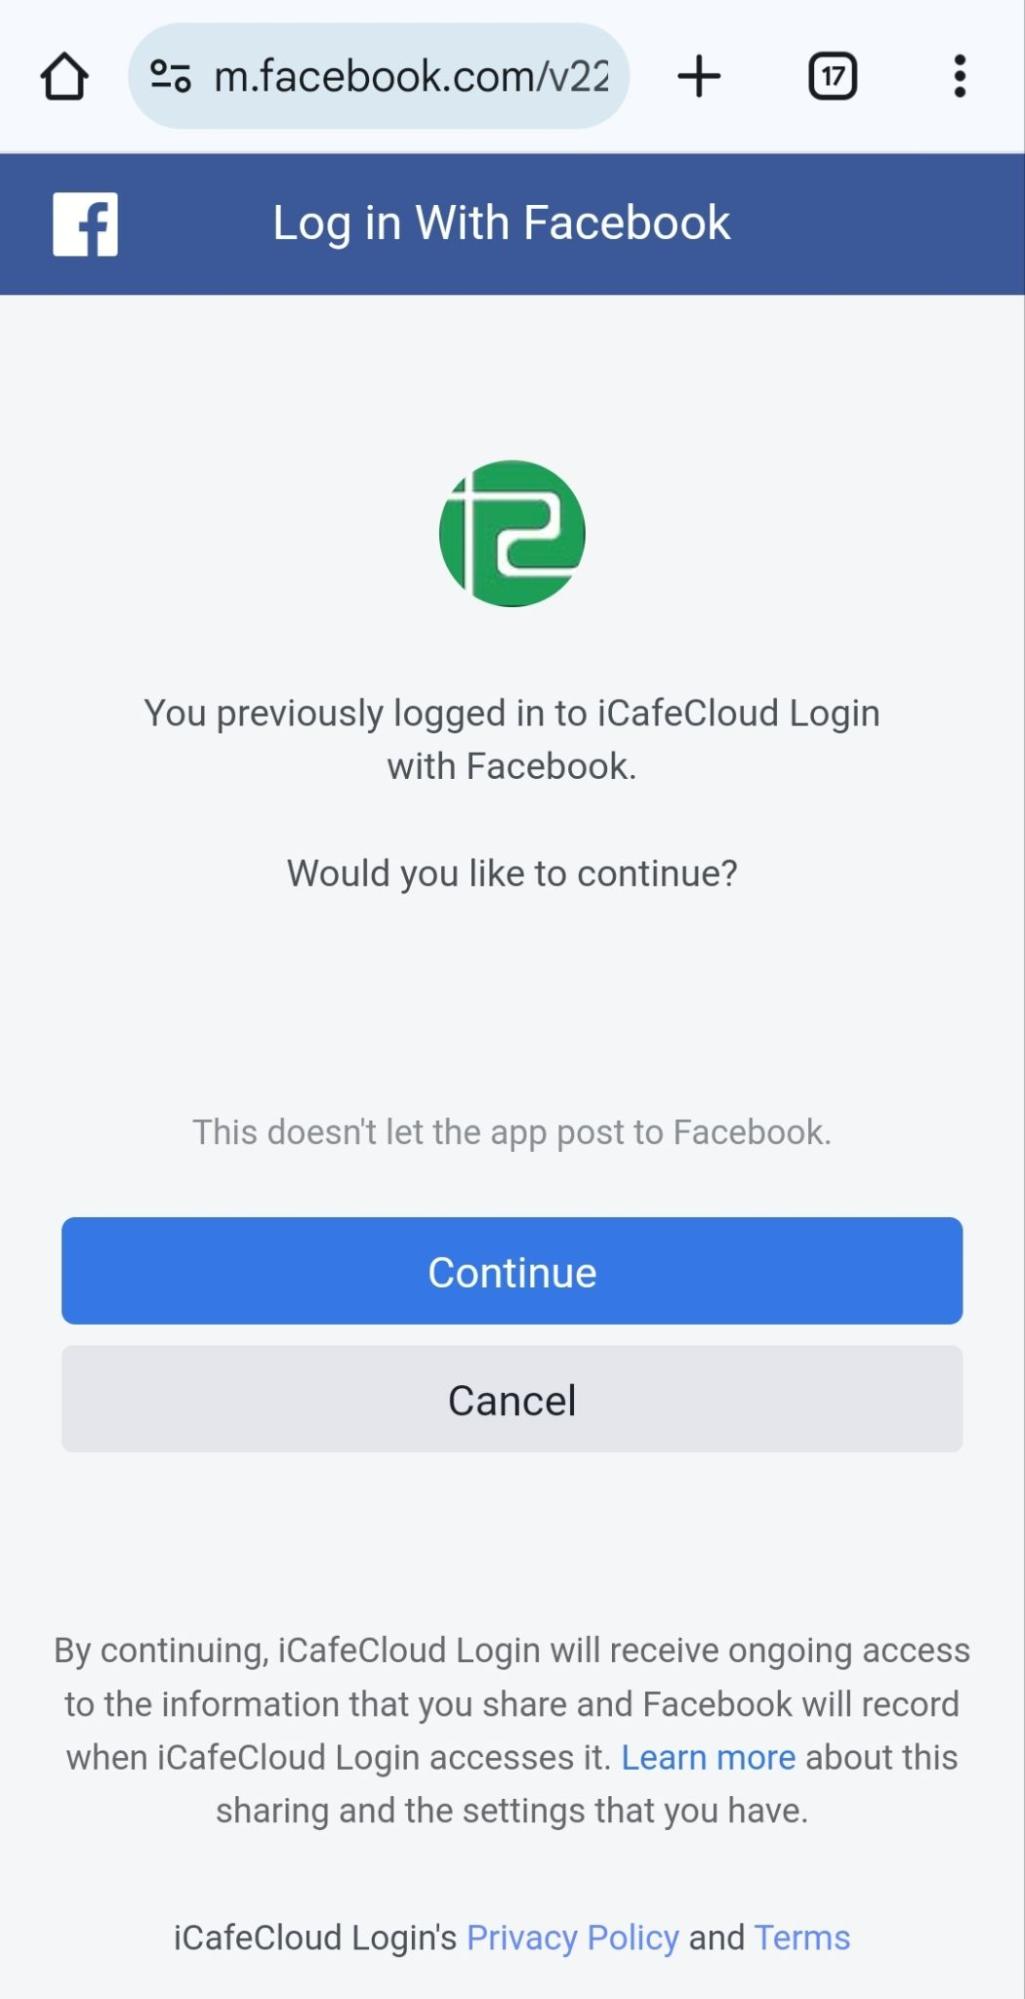
Figure 5
- Once logged in successfully, you will be redirected back to the mobile login page, where you will be prompted to either create a new account or bind an existing account. (Figure 6)
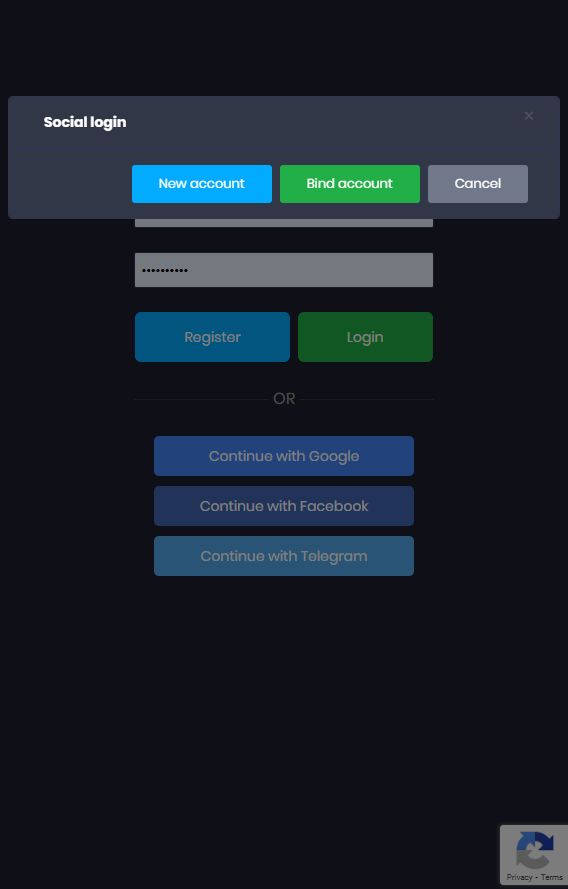
Figure 6
- You will be prompted to enter a Member Name, which will be used for the account.(Figure 7)

Figure 7
- After completing this step, the account details and balance will be displayed, along with options to start a session, top up the account, or log out. (Figure 8)
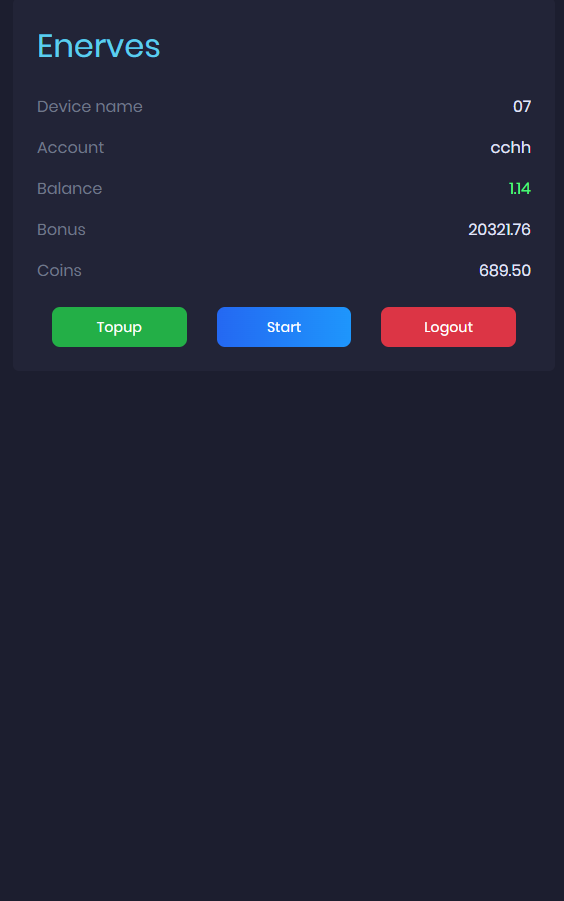
Figure 8
- By default, if a member's account is linked to a social login(Instagram, Facebook, or Telegram), they cannot log in using a password. However, if the member forgets their social account password, the admin can enable the "Allow Password Login Always" option and reset the member's password. This will allow the member to login with a password again.
- Staff can revert any account individually to password login by editing the member's account and selecting “Account” as the login platform (Figure 9).

Figure 9